How to Pop a Pimple Safely (If You're Going to Do It Anyway)
How to Pop a Pimple Safely (If You're Going to Do It Anyway)
Every dermatologist will tell you not to pop your pimples. Every teenager will pop them anyway. I did it. You probably do it. So instead of pretending you won't, I'd rather give you the information to do it with minimal damage.
This is harm reduction, not a recommendation. The safest option is always to leave a pimple alone and let it heal on its own. But I'm a realist, and a whitehead the size of a small planet on your nose before picture day isn't something most 15-year-olds can just ignore.
Which pimples you can extract (and which you absolutely cannot)
This is the single most important section of this entire article. Getting this wrong is how people end up with scars, infections, and worse breakouts than they started with.
Safe to extract: A whitehead with a visible, raised, white or yellowish head sitting right at the surface. It looks like it's about to pop on its own. The pus is clearly visible and close to the surface. If you gently pressed a warm cloth against it, you could probably coax it out. That type, and only that type.
Do not touch these:
Cystic acne. Those deep, painful lumps under the skin with no visible head. They're inflamed way below the surface and squeezing them pushes bacteria and pus deeper into the tissue. You will make a cyst worse every single time you try to squeeze it. I cannot stress this enough. The inflammation spreads, the healing time doubles or triples, and the scarring risk goes through the roof. A dermatologist can inject these with cortisone if they're really bad.
Nodules. Hard, painful bumps deep under the skin. Similar to cysts but more solid. Same rules apply: do not squeeze. You cannot extract something that isn't near the surface.
Papules. Red, inflamed bumps with no head. These are inflamed but the pus hasn't come to the surface yet. Squeezing a papule just damages the surrounding tissue and makes the redness worse. Wait. If it's going to become a whitehead, it'll get there on its own in a day or two.
Anything on or inside your nose. The "danger triangle of the face" runs from the bridge of your nose down to the corners of your mouth. Veins in this area connect to the cavernous sinus in your brain. Infections here, while rare, can become very serious. This isn't something I bring up to scare you. It's anatomy. The AAD recommends against popping anything in this zone (American Academy of Dermatology, 2024).
Anything that's already red, swollen, or warm to the touch. These are actively inflamed. Messing with them adds trauma to existing inflammation. Leave them alone.
If you're unsure whether a pimple is safe to extract, it isn't. Err on the side of doing nothing.
The warm compress method (try this first)
Before you go poking at anything, try a warm compress. This alone can bring a whitehead to the surface and sometimes drain it without any squeezing at all.
Soak a clean washcloth in warm water. Not hot. Not scalding. Warm enough to be comfortable against your skin. Hold it against the pimple for 5 to 10 minutes. The heat increases blood flow to the area, softens the skin, and loosens the plug of sebum and dead skin cells blocking the pore.
Do this two or three times and you might find the pimple drains on its own when you gently wipe it with the cloth. If it does, you're done. Clean the area, apply a hydrocolloid patch, and move on with your life.
If the warm compress doesn't work after a couple of attempts, and you still have a clear whitehead at the surface, you can move to the extraction method below.
The extraction method
I want to be clear that what follows is what dermatologists themselves do during extractions, adapted for at-home use. It's not the same as digging at your face with dirty fingernails in the bathroom mirror, which is what most people actually do.
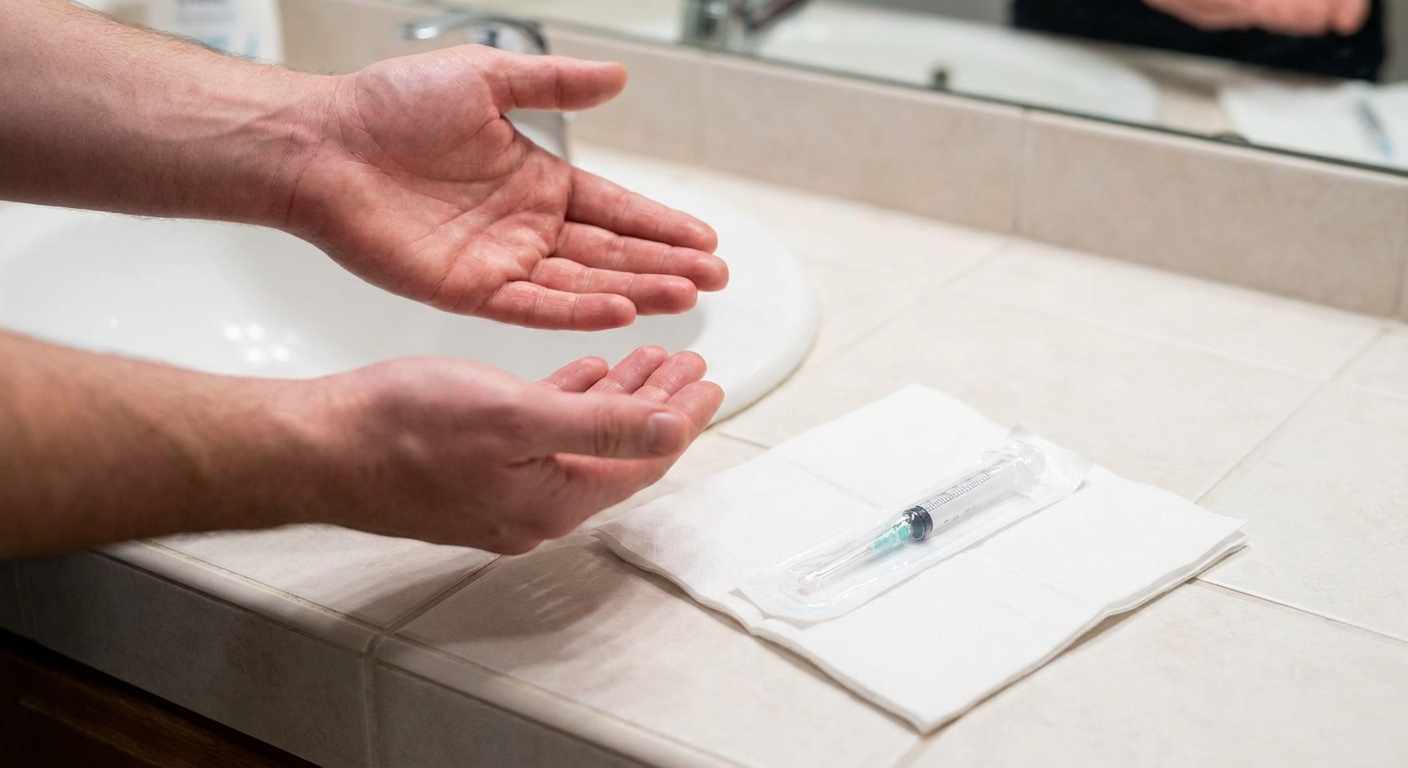
Step 1: Wash your hands. With soap. For at least 20 seconds. Under your fingernails too. Bacteria from your hands getting into an open pore is exactly how you turn a pimple into an infection.
Step 2: Clean the area. Wipe the pimple and surrounding skin with rubbing alcohol or an antiseptic wipe.
Step 3: Sterilize a needle. A thin sewing needle or a diabetic lancet. Hold the tip in a flame for a few seconds, then wipe it with rubbing alcohol and let it dry. This isn't optional. An unsterilized needle is an infection waiting to happen.
Step 4: Pierce the very top of the whitehead. Gently. You're creating a tiny opening in the thinnest part of the skin, right at the point of the whitehead. You don't need to go deep. You're not lancing an abscess. Just barely break the surface.
Step 5: Press gently around the pimple. Use two cotton swabs, one on each side. Or wrap your fingers in tissue. Press gently inward and then upward, working from below the pimple. The pus should come out easily through the opening you just made.
The key word is "gently." If it's not coming out with light pressure, stop. It's not ready. Forcing it will rupture the follicle wall under the skin, push pus into surrounding tissue, and create a bigger, angrier breakout.
Step 6: Once the pus is out, stop. You'll know you're done when clear fluid or a tiny bit of blood appears. That's your cue to quit. Continuing to squeeze after the whitehead is drained causes unnecessary tissue damage.
Step 7: Clean the area again. Wipe with antiseptic. Let it dry.
After extraction: the hydrocolloid patch
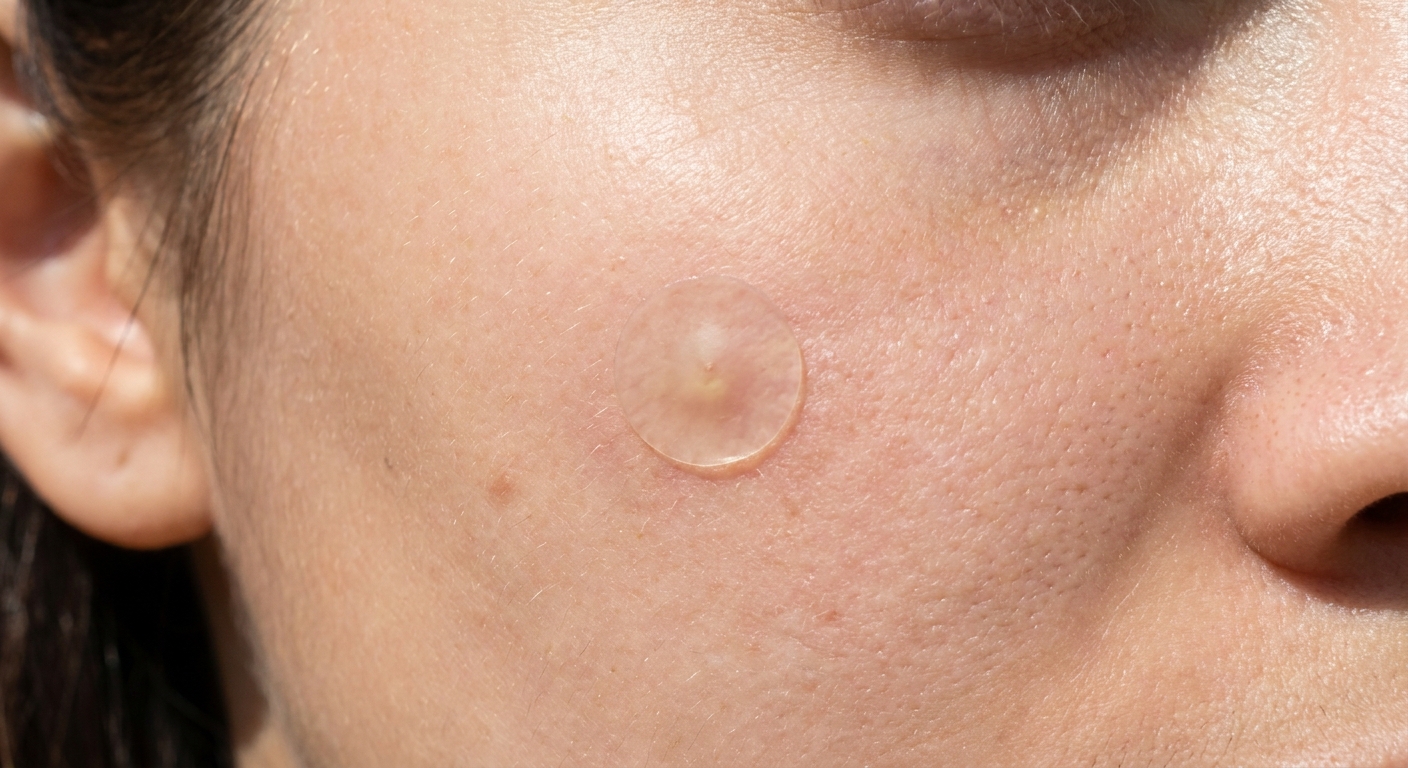
This is my favorite piece of skincare technology and it costs almost nothing. Hydrocolloid patches (sometimes marketed as "pimple patches") are small adhesive bandages that do three things:
They absorb remaining fluid from the extraction site. They protect the open pore from bacteria, dirt, and your own fingers. And they create a moist wound-healing environment that speeds up recovery and reduces scarring risk.
Put one on immediately after cleaning the extraction site. Leave it on for several hours or overnight. When you peel it off, you'll usually see a white or yellowish dot on the patch where it absorbed fluid. That's satisfying, and also exactly what you want.
You can buy them at any drugstore. The generic ones work just as well as the expensive branded versions. A 2006 study in Skin Research and Technology found that hydrocolloid dressings reduced wound healing time and improved cosmetic outcomes compared to leaving wounds uncovered (Lee et al., 2006).
Signs you've made it worse
Sometimes extractions go wrong. Here's what to watch for:
Increased redness and swelling the next day. Some redness right after is normal. If it's getting worse 12 to 24 hours later instead of better, you may have caused deeper inflammation or pushed bacteria into surrounding tissue.
Warmth and tenderness spreading beyond the original pimple. This suggests the inflammation is spreading, not shrinking.
A hard, painful lump forming under the skin. You may have ruptured the follicle wall, creating a deeper infection.
Pus that looks greenish or smells bad. This is a bacterial infection and you should see a doctor. A topical antibiotic might be needed.
Red streaks extending outward from the pimple. This is rare but serious. It indicates the infection is spreading along lymphatic channels. See a doctor the same day.
If any of these happen, apply a warm compress a few times a day, keep the area clean, and don't touch it again. If it's getting worse over 2 to 3 days rather than better, see a doctor or dermatologist. There's no shame in that. A course of topical or oral antibiotics can clear up an infection quickly.
Scarring
I'm going to be honest with you. Every time you pop a pimple, you risk scarring. Even if you do it perfectly. The extraction itself is trauma to the skin, and some people scar more easily than others. If you have darker skin, you're also at higher risk for post-inflammatory hyperpigmentation (dark spots that can last months after a breakout).
The risk goes up dramatically when you:
- Squeeze pimples that aren't ready (no visible head)
- Use excessive force
- Pick at the same spot repeatedly
- Don't keep the area clean afterward
- Extract cysts or deep nodules (which should never be done at home)
Atrophic scars (the indented, pitted kind) happen when the extraction damages the underlying collagen. These are permanent without professional treatment like laser resurfacing or microneedling, which are expensive and not always fully effective (Fabbrocini et al., 2010).
Acne scars from amateur extraction are one of the most common cosmetic complaints dermatologists hear from adults. A 2009 survey in Dermatologic Surgery found that 95% of acne patients had some degree of scarring, with picking and squeezing identified as a major contributing factor (Layton et al., 2009).
I'm not telling you this to lecture you. I'm telling you because at 15 you might not be thinking about what your skin looks like at 25. A pimple lasts a week. A scar can last decades.
Key takeaways
- Only extract whiteheads with a clearly visible, raised head at the skin surface. Everything else, leave alone.
- Warm compresses work surprisingly well and should always be your first attempt before any needle or squeezing.
- If you extract, sterilize everything, be gentle, and stop the moment you see clear fluid or blood.
- A hydrocolloid patch after extraction protects the site and speeds healing. Use one every time.
- If the area gets more red, swollen, or painful over the next day or two, you've caused deeper damage. Keep it clean and see a doctor if it doesn't improve.
Bottom line
The best thing to do with a pimple is leave it alone. The second best thing is to extract it properly with clean tools, gentle pressure, and immediate aftercare. The worst thing, which is what most people do, is to attack it with dirty fingernails in bad lighting at 11 PM because you have school tomorrow. If you're going to pop a pimple, at least do it right.
Sources
- American Academy of Dermatology. (2024). Pimple popping: Why only a dermatologist should do it. AAD.org.
- Fabbrocini, G., et al. (2010). Acne scars: Pathogenesis, classification and treatment. Dermatology Research and Practice, 2010, 893080.
- Layton, A. M., et al. (2009). A review of the socio-economic impact of acne and the associated cost of treatment. Dermatologic Surgery, 35(8), 1178-1186.
- Lee, W. R., et al. (2006). The effect of hydrocolloid dressing on wound healing. Skin Research and Technology, 12(4), 297-301.
- Zaenglein, A. L., et al. (2016). Guidelines of care for the management of acne vulgaris. Journal of the American Academy of Dermatology, 74(5), 945-973.
- Tan, J. K., & Bhate, K. (2015). A global perspective on the epidemiology of acne. British Journal of Dermatology, 172(S1), 3-12.
How we reviewed this article:
Our experts continually monitor the health and wellness space, and we update our articles when new information becomes available.
Read This Next

The Acne Glossary: Every Term You'll Encounter, Explained Simply
From adapalene to zinc, every acne and skincare term you'll run into, defined in plain language without the medical jargon.
Read More →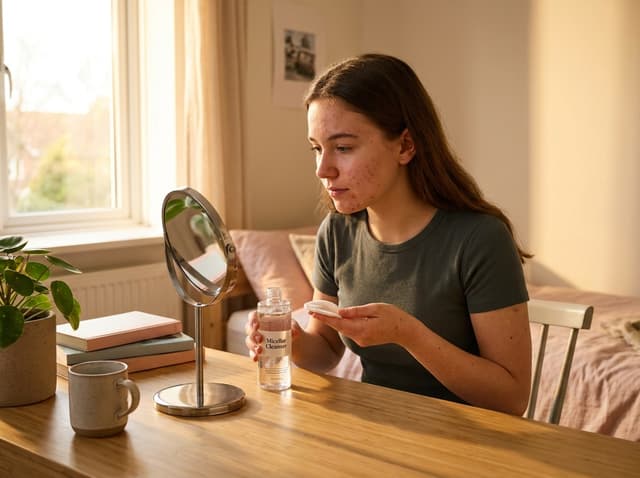
Micellar Water for Acne-Prone Skin: Gentle Cleanser or Lazy Shortcut?
Micellar water is fine for light cleansing days but won't remove sunscreen properly. Here's when to use it, when to skip it, and whether you need to rinse.
Read More →
How Seasonal Changes Affect Your Acne (And When to Switch Products)
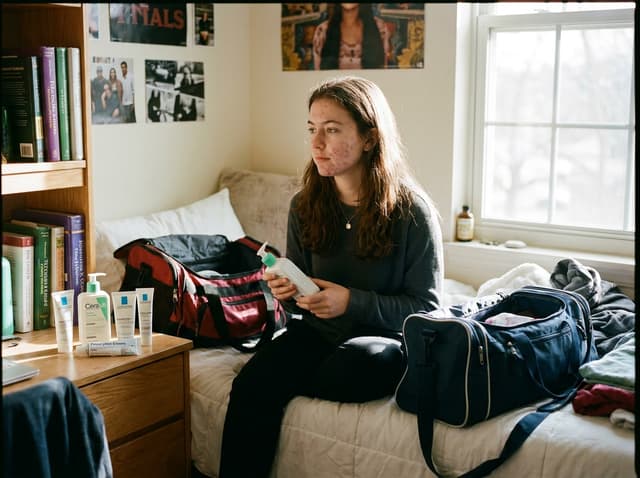
Going to College with Acne: Preparing Your Skincare for Dorm Life
